
使用 GitHub Actions 自动部署 Hexo
最近升级了 next 主题到 v8.2 版本,搜索后才发现最新的 hexo-theme-next 更换仓库到 https://github.com/next-theme/hexo-theme-next, 并且支持 npm 方式部署,而不用再 pull 源码,使用 npm 安装以后升级只需要 npm install hexo-theme-next@latest 就行了。
正好以前用过 Azure DevOps 和 Travis CI 的打包功能,就想着能不能用类似的方法直接部署到 gitPage、codingPage,于是搜索了相关问题。
使用 Actions 可以很方便的在 github 上对文章进行修改与新增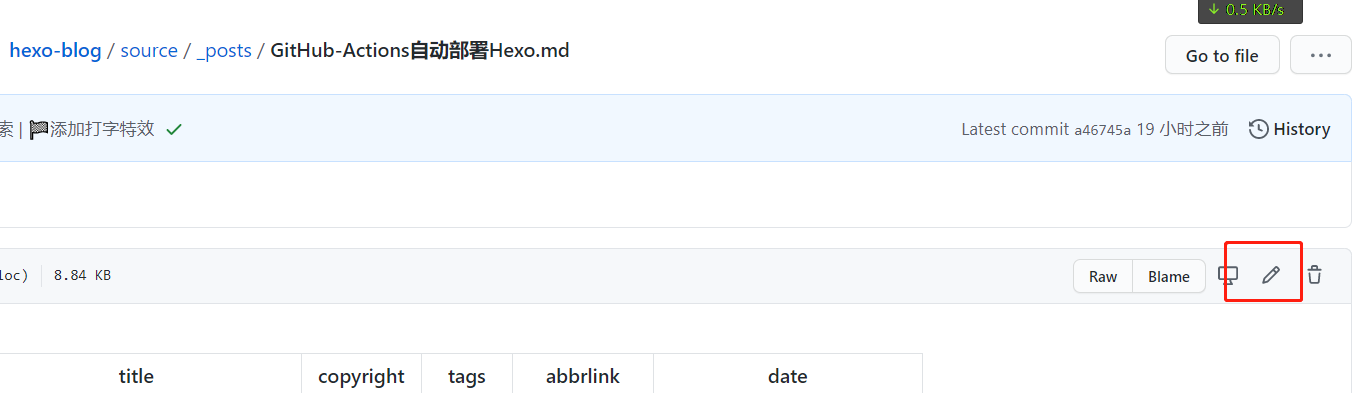

hexo-next 的升级
1 | INFO ================================== |
从 next v7->v8 还是有许多地方不一样的,更别说使用了 npm 的方式安装主题。
首先是外部配置文件,在 7.x 版本中,外部配置文件是放在
source/_data/next.yml中的,而在 8.x 的版本则是放在了项目根目录,与_config.xml同级,并且命名为_config.next.yml, 具体安装可以查看 next 官方文档,都比较详细v8中valine不再是内置评论模块,可能这涉及到一些xss或其他方面的安全问题,具体原因不清楚,不过可以使用npm install next-theme/hexo-next-valine手动安装,再将配置添加到_config.next.yml中1
2
3
4
5
6
7
8
9
10
11
12
13
14
15
16
17
18
19
20# Valine
# For more information: https://valine.js.org, https://github.com/xCss/Valine
valine:
enable: true
appId: # Your leancloud application appid
appKey: # Your leancloud application appkey
serverURLs: # When the custom domain name is enabled, fill it in here
placeholder: ~这里输入您的精彩评论下 # Comment box placeholder
avatar: robohash # Gravatar style
meta: [nick, mail, link] # Custom comment header
pageSize: 10 # Pagination size
lang: zh-cn # Language, available values: en, zh-cn
# Warning: Do not enable both `valine.visitor` and `leancloud_visitors`.
visitor: false # Article reading statistic
comment_count: true # If false, comment count will only be displayed in post page, not in home page
recordIP: true # Whether to record the commenter IP
enableQQ: true # Whether to enable the Nickname box to automatically get QQ Nickname and QQ Avatar
requiredFields: [] # Set required fields: [nick] | [nick, mail]
emojiCDN: #表情包地址
emojiMaps: {}因为源码中
hexo-next-valine使用了 Object.assign,所以理论上valine官方所有支持的参数在这里都可以被支持,包括 emojiCDN 等等。

生成密钥
关于如何将 hexo 同时部署到 GitHub Pages 和 coding Page 这里不再赘述可以参考这里 2018/c067e22a.html,这里你可以生成一个新的密钥专门用于 Actions 部署,也可以使用原来的密钥文件
生成方法,使用 gitBash
1 | ssh-keygen -t rsa -b 4096 -C "xxx@xxx.com" -f github-deploy-key -N "" |
会在 C:\Users\用户名\.ssh 看到两个文件
- github-deploy-key —— 私钥
- github-deploy-key.pub —— 公钥
配置秘钥
我们要在 GitHub 与 Coding 上部署密钥,其中私钥用于 Hexo 源码仓库里 ,源码仓库我们可以新建一个空的私有仓库,然后将当前的文件源码关联到这个仓库中,在源码目录执行 (源码目录指的是包含 package.json 文件的 hexo 根目录)
1 | git init |
把公钥放到 GitHub Pages 和 coding 对应的代码仓库里面,用于 Hexo 部署时的写入工作
配置私钥
首先在 GitHub 上打开保存 Hexo 的仓库,访问 Settings -> Secrets,画面如下:

然后选择 New secret

名字部分填写:HEXO_DEPLOY_KEY,注意大小写,这个后面的 GitHub Actions Workflow 要用到,一定不能写错。
在 Value 的部分填入 github-deploy-key 中的内容:

添加了私钥以后的界面显示如下:

添加公钥
github Page
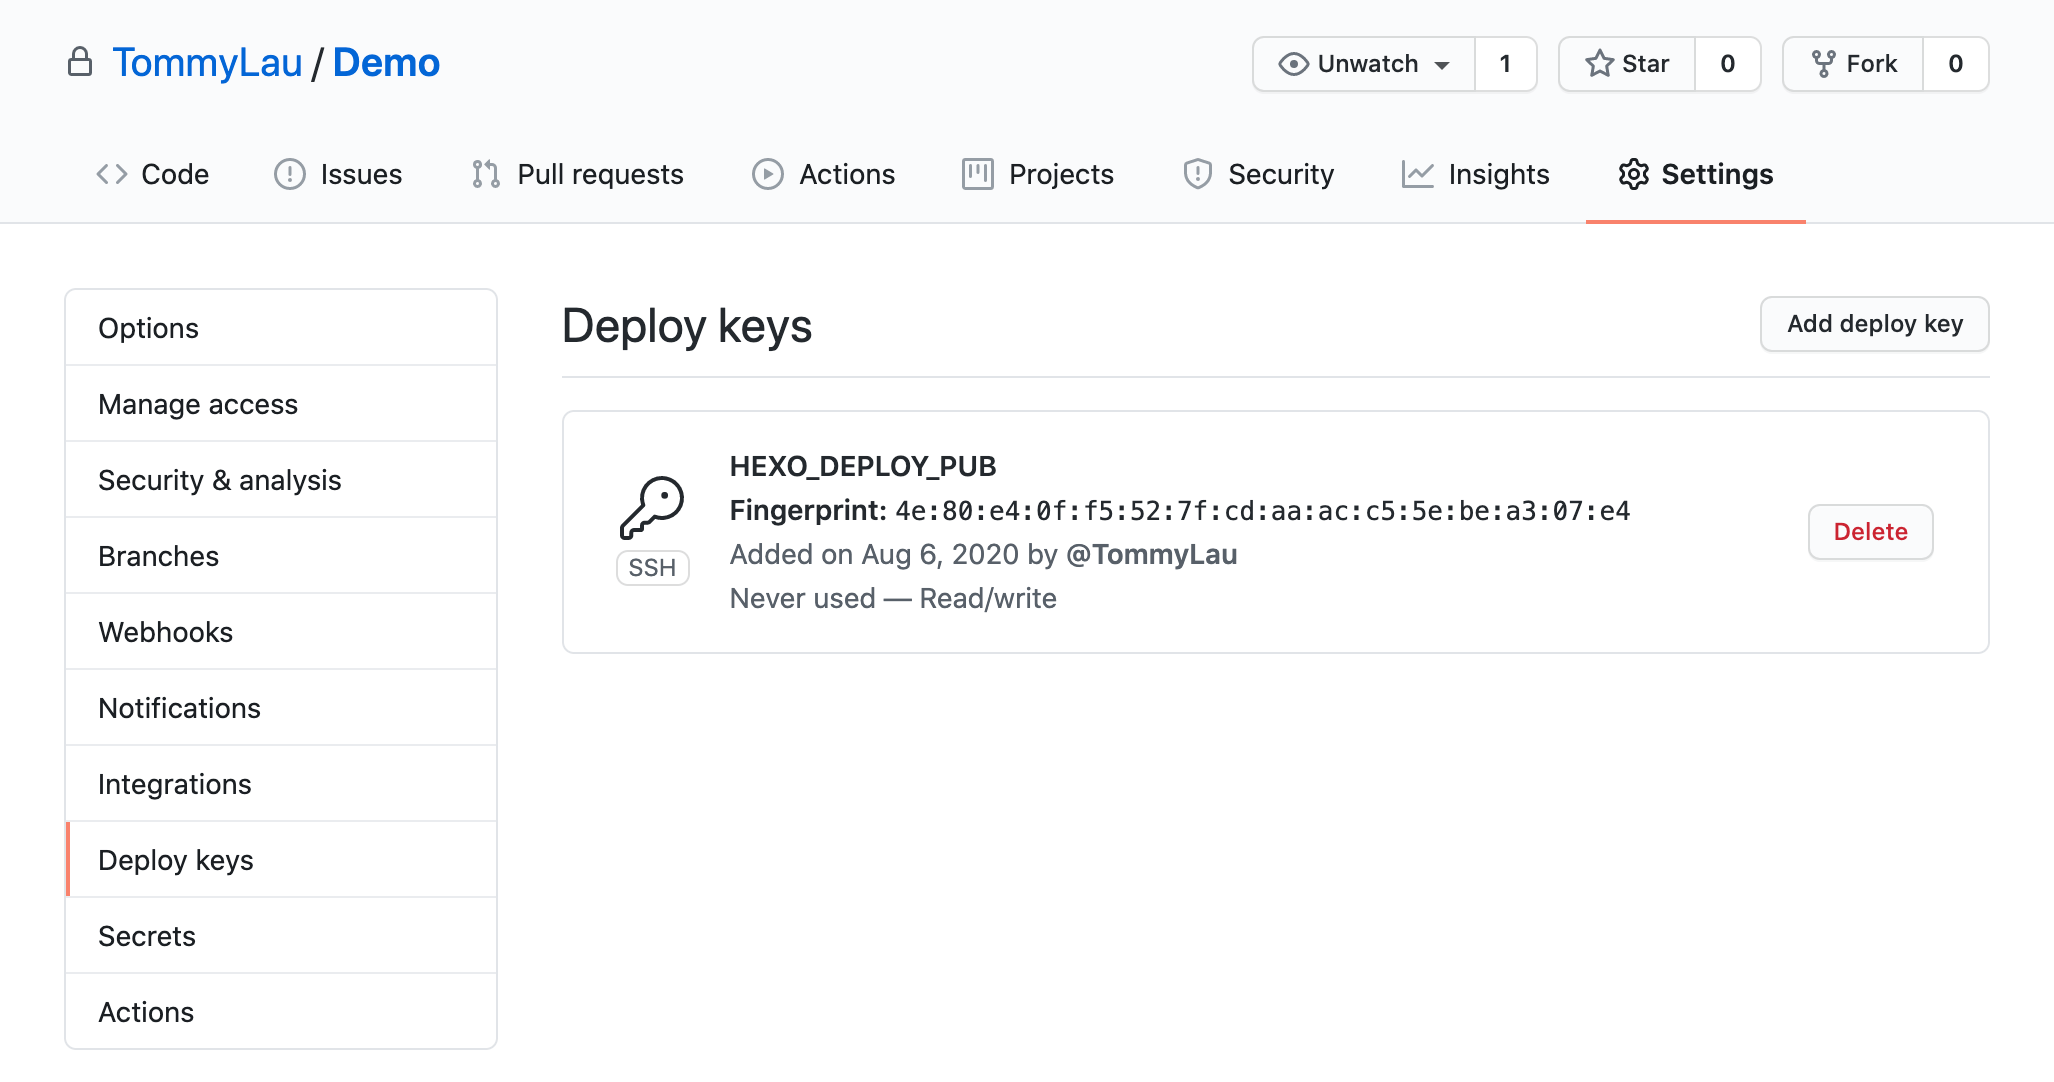
接下来我们需要访问存放网页的仓库,也就是 Hexo 部署以后的仓库,比如:xxx.github.io 这种,访问 Settings -> Deploy keys:
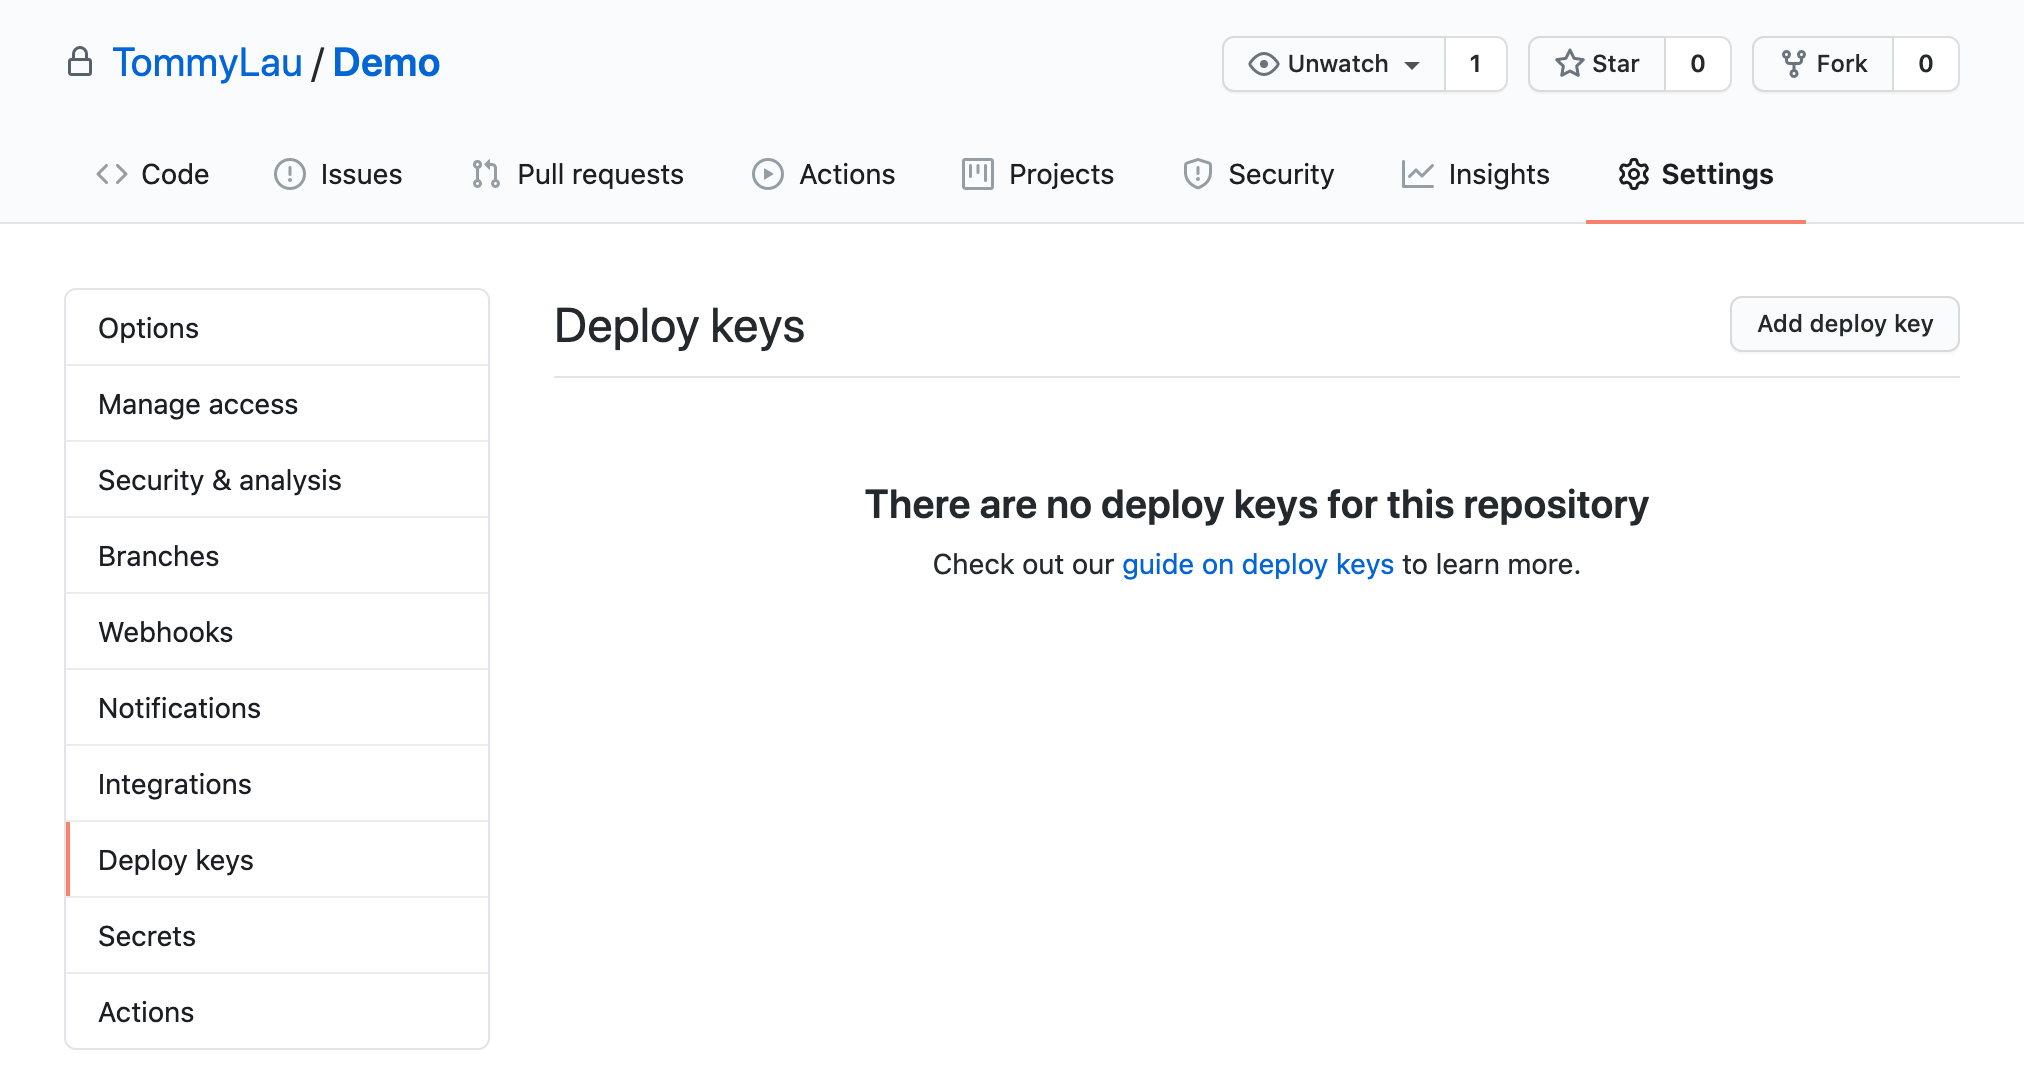
按 Add deploy key 来添加一个新的公钥:
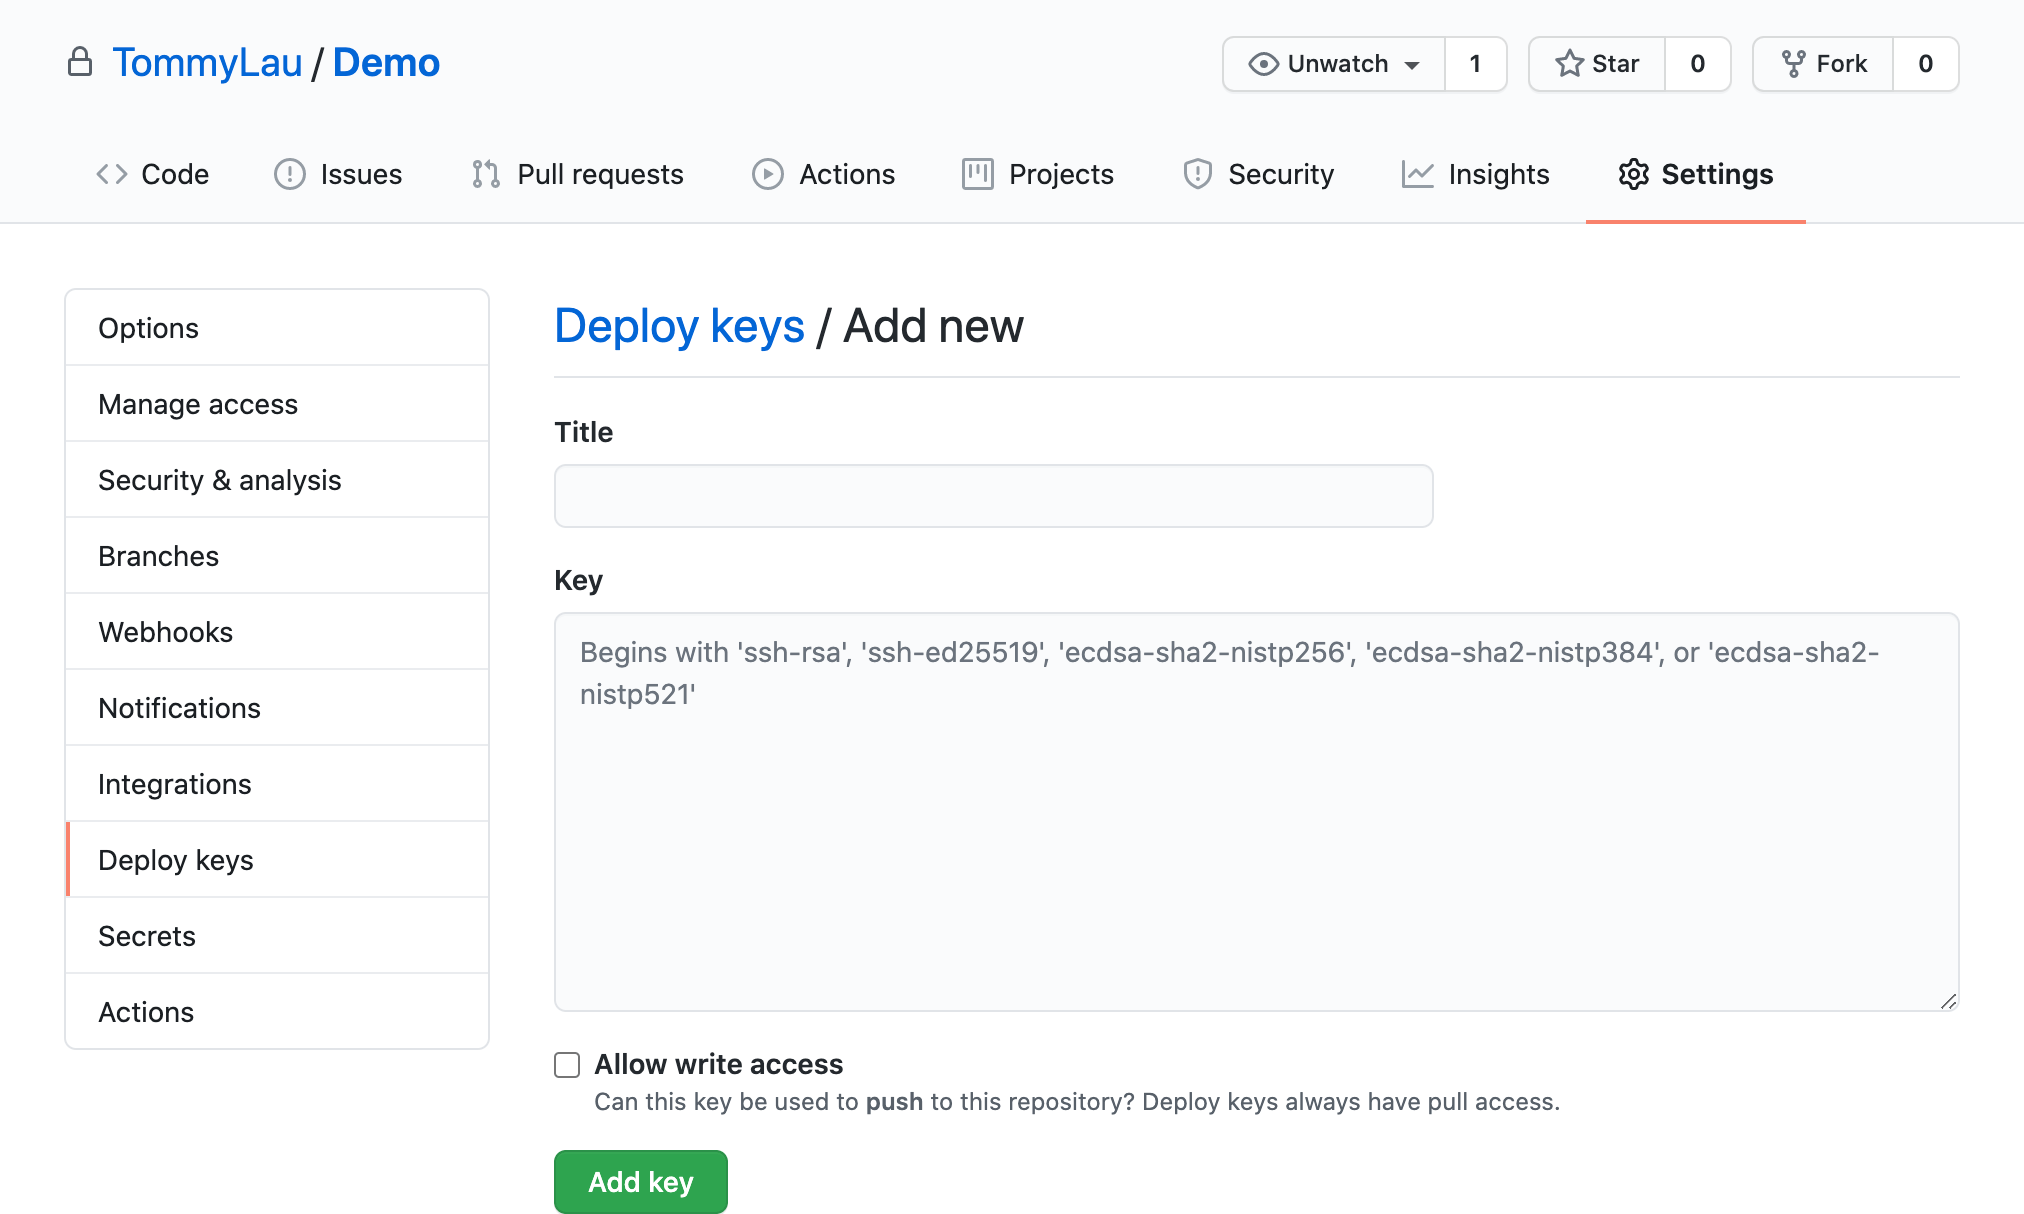
在 Title 中输入:HEXO_DEPLOY_PUB 字样,当然也可以填写其它自定义的名字。
在 Key 中粘贴 github-deploy-key.pub 文件的内容。
注意:一定要勾选
Allow write access来打开写权限,否则无法写入会导致部署失败。
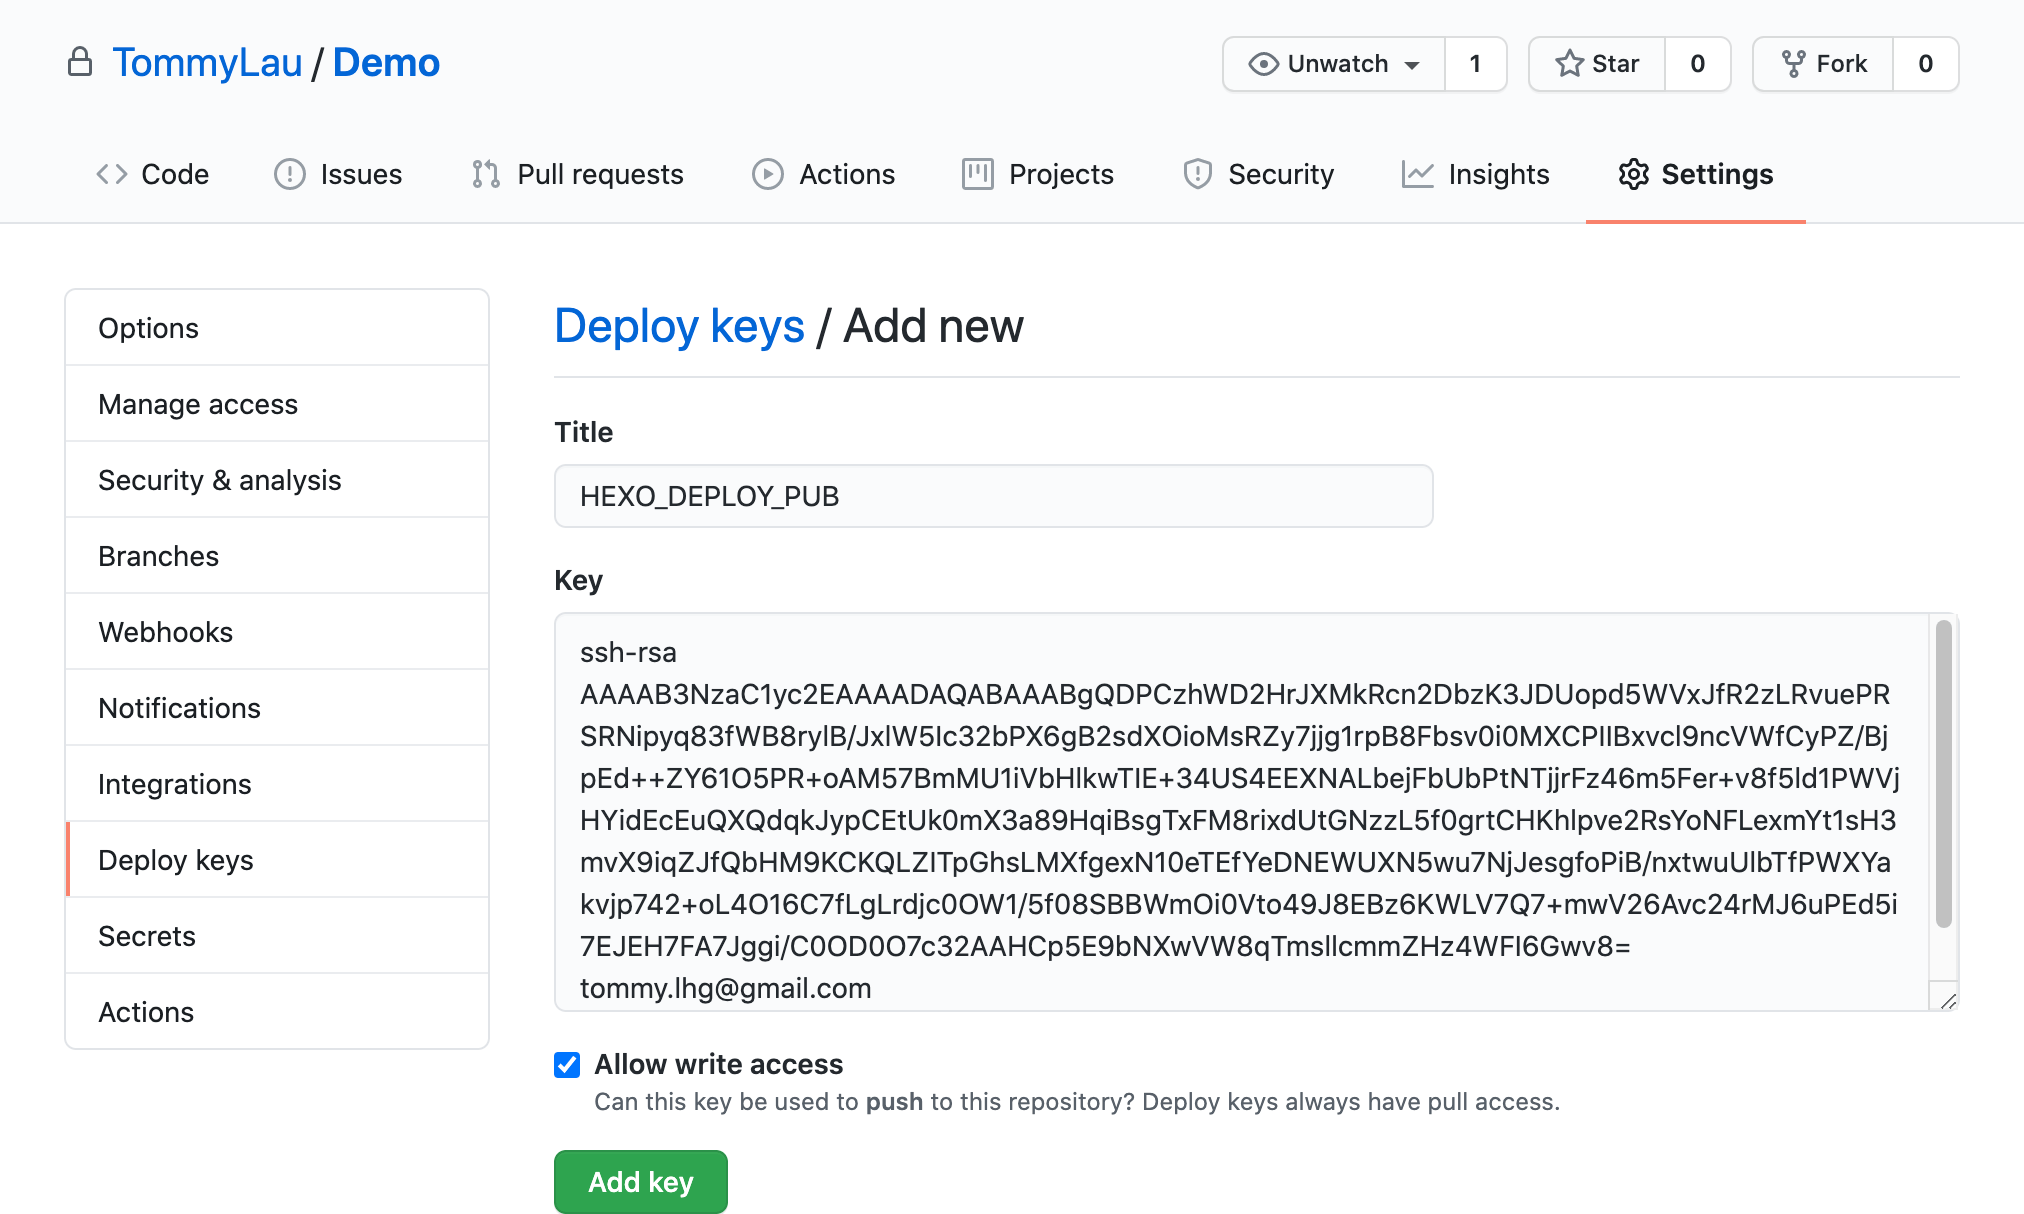
最后添加好了公钥的界面如下:
coding Page
打开 代码仓库->设置->部署公钥,点击新建
在 Title 中输入:HEXO_DEPLOY_PUB 字样,当然也可以填写其它自定义的名字。
在 Key 中粘贴 github-deploy-key.pub 文件的内容。同样的,注意勾选授予推送权限和公钥永久有效期
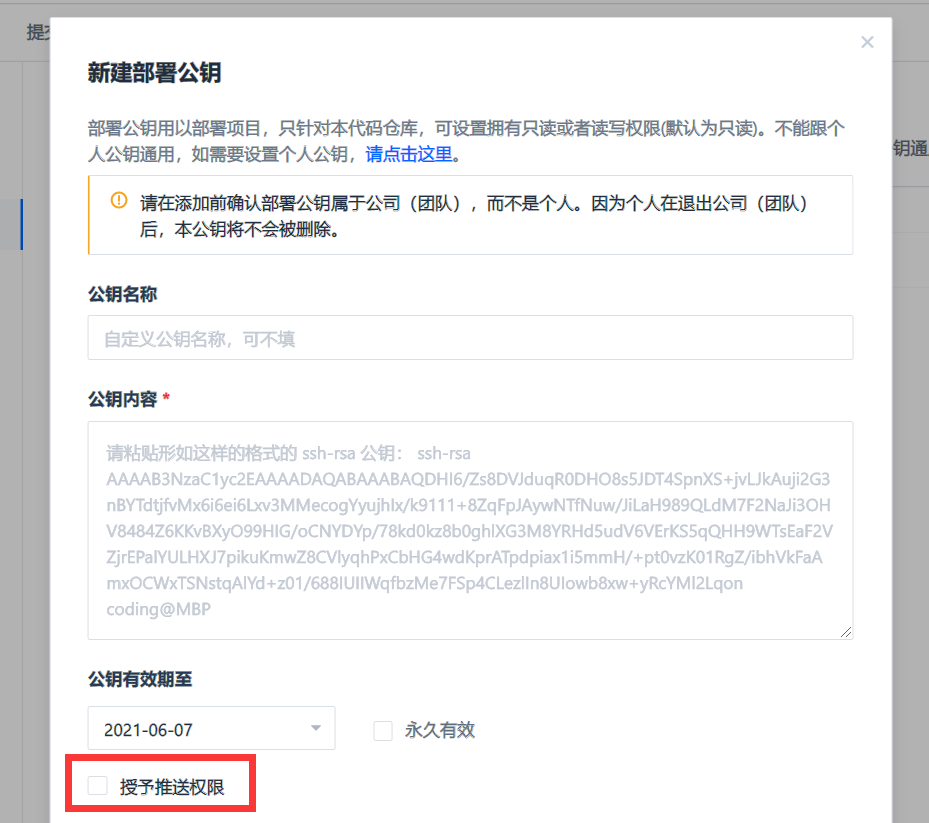
添加完的效果如下

创建 Workflow
首先在 Hexo 的仓库中创建一个新文件:.github/workflows/deploy.yml,文件名可以自己取,但是一定要放在 .github/workflows 目录中,文件的内容如下:
1 | name: Hexo Deploy |
简单解释一下,当我们推送内容到远程 master 分支的时候,就会触发这个 Workflow,同时给自己项目点击 star 也会触发。
使用 Ubuntu 作为 hexo deploy 的系统。
首先 checkout 源代码,然后设置使用最新的 Node.js v12 LTS 作为 node 解释器。
接下来就是创建 SSH 相关的配置文件,注意 secrets.HEXO_DEPLOY_KEY 就是对应我们之前设置的私钥,所以名字一定不要搞错。
git config 相关的名字和邮件地址替换成自己使用的。
最后就是安装 Hexo CLI,各个依赖模块和部署了。
验证
下面就是 GitHub Actions 页面显示的运行结果:
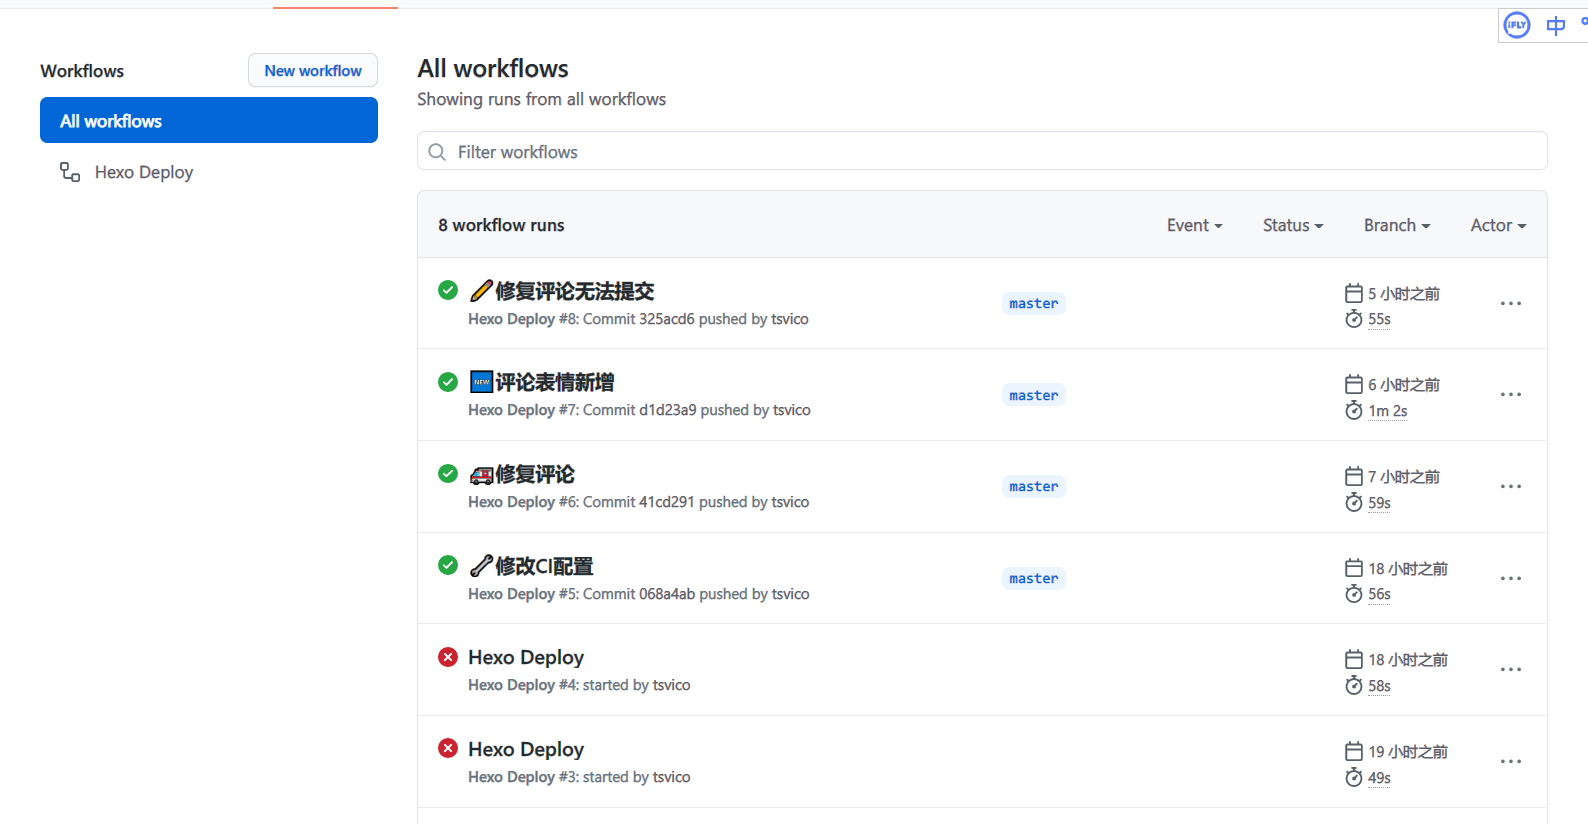
绿色的,就表示部署成功,红色的表示失败。如果部署失败,可以点击部署任务查看错误日志,进行调试,点击项目 star 可以进行手动部署。
部分内容和图片参考博文 https://tommy.net.cn/2020/08/06/deploy-hexo-with-github-actions/
非常感谢
- 标题: 使用 GitHub Actions 自动部署 Hexo
- 作者: tsvico
- 创建于 : 2021-03-07 14:57:10
- 更新于 : 2024-06-27 14:07:36
- 链接: https://blog.tbox.fun/2021/3339913406.html
- 版权声明: 本文章采用 CC BY-NC-SA 4.0 进行许可。